Unity Development — Skybox
When working on 2D games, it is fairly simple to take an image and have it cover the camera area to act as the background. For today, let’s take a look at how you would accomplish this for a 3D environment.
A background for a 3D game should allow for the player to look in any direction and not see a blank area. The best way to achieve this in Unity is with a skybox. It basically acts as a global background image for your project. Here is a 3D world with no skybox.


Looks a little plain. In the game view, you can see depending on your setup that it could be a very eerie all white, like there is no end or beginning. Actually, it could be kind of cool if that is the look you are going for, but let’s forward with the skybox idea.
In your Project window, you are going to make a new Material and change the type to Skybox/6 sided. There are other forms of Skybox’s, but for this example we are going to use 6 sided. With that, how do you think we make the skybox material? We use 6 different 2D images to form together.

When you have the corresponding images, place them in their proper parts for the skybox material to form.

Once the skybox material is made, we can put it in place. Making the images for the skybox could be difficult if you are not an artist. You can find many free examples on the Unity Asset Store or other online resources.

At the top of Unity go to Window > Rendering > Lighting. This will open a new tab you can place anywhere. In the Environment section is where you can add your new skybox. Do so and see how everything looks.


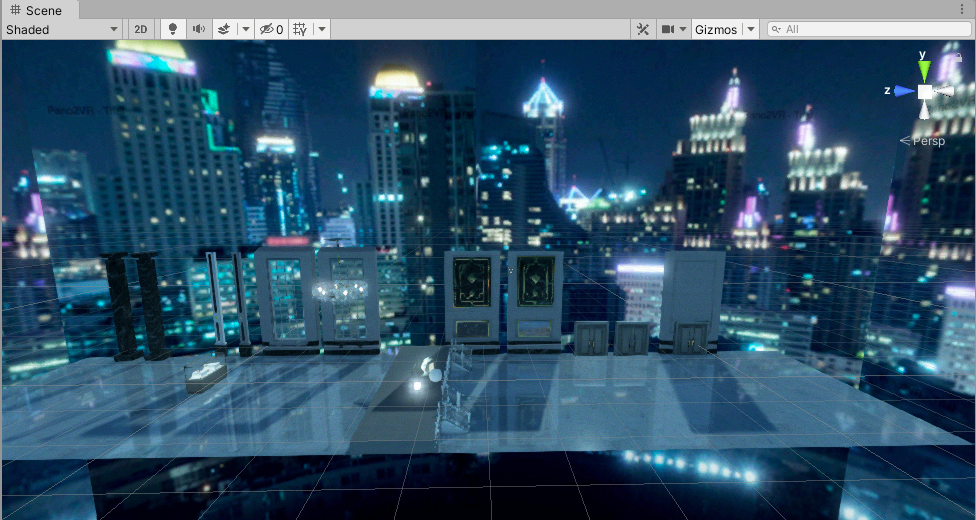
Now from every angle, there is a beautiful city skyline. You can use skyboxes for a ton of other options, cloudy skies, space and planets, and much more. See what you can find and make your best environments.